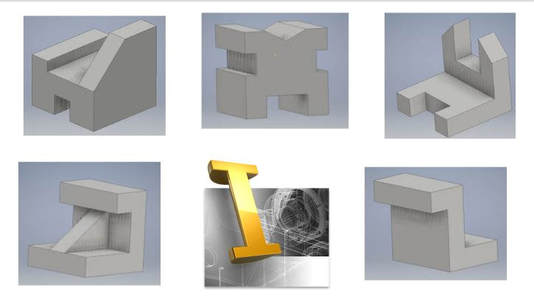
About Inventor Software
Inventor is the software being used to create all sketches and designs on this page. Inventor is a three dimensional design software. It is used to create complex shapes, assemblies, drawings and animations by using additive and subtractive methods to create different parts. A CAD software like inventor is crucial to 3D printing and CNC machines.
Creating a sketch
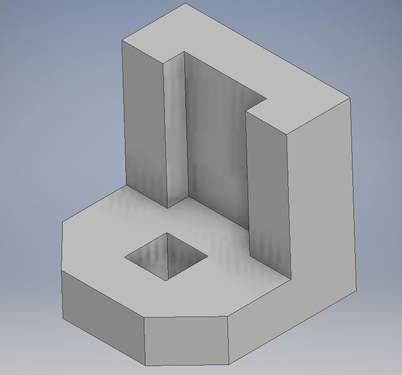
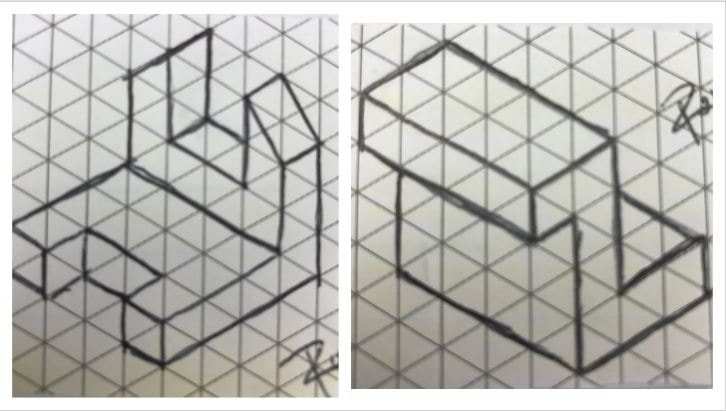
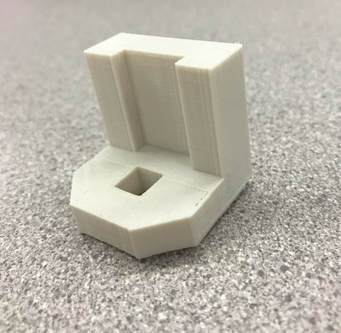
Inventor is a very complicated software, but when taught how to use, it is actually very simple. To make the sketch right below this text you open up inventor and click create a new sketch in the upper left hand corner of the screen. Next, the software will ask what kind of file to draw on, click on standard.ipt. Then click on the XY plane. Use the line function to draw your shape. From here, draw the basic shape of the face, ignore the holes and indents. Once the basic shape is drawn (should be L shaped), click finish sketch. Inventor will bring you to the 3D building page. Click on extrude in the upper left hand corner. Extrude shape outward to 1.00 inch. Once that is done move your shape to see the bottom of the L extruded part. Click on that face and click start 2D sketch. Hit line and draw a 0.25 inch square 0.375 inches from edge of the face. Then click on finish sketch again and then click extrude. Make sure the square drawing is selected and extrude the square inward 0.25 inches. Then, once that is done, click on the front face of the shape (looking at the front of the chair, the backrest) and click create a 2D sketch. Draw a rectangle 0.25 inches away from the edge of each face using the line feature. The rectangle should be 0.75 inches tall. Hit finish sketch again and extrude rectangle inward 0.125 inches. The last part needed is the trapezoid shape in front of the square indentation. To create this, click on the L shaped face (face drawn in the beginning) and draw a square 0.25 inches by 0.25 inches, click finish sketch and extrude the square 1.00 inches. The final step is to cut off the triangles in the corners, so click line and draw a triangle in each corner with side lengths of 0.25 inches. Click finish sketch and click extrude. Extrude 0.25 inches to make the corners disappear and there you have your shape! Click this link to see the power point
|
|
Using MAKER BOT
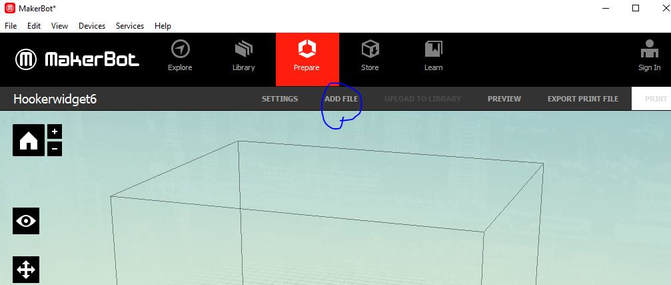
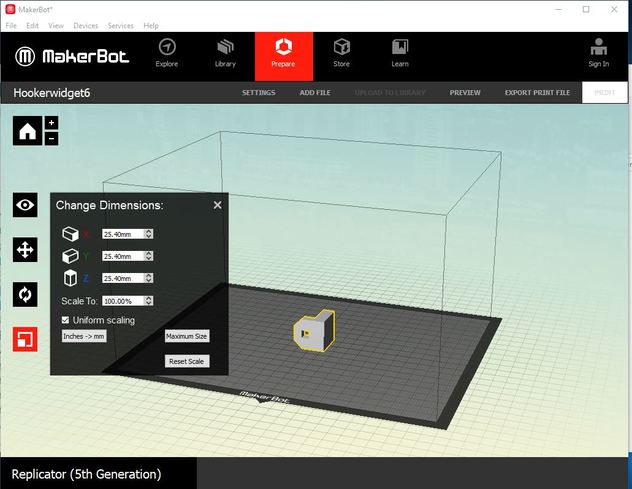
1. Open up Maker Bot and add your Inventor file.
2. Change scale to 1000.0%
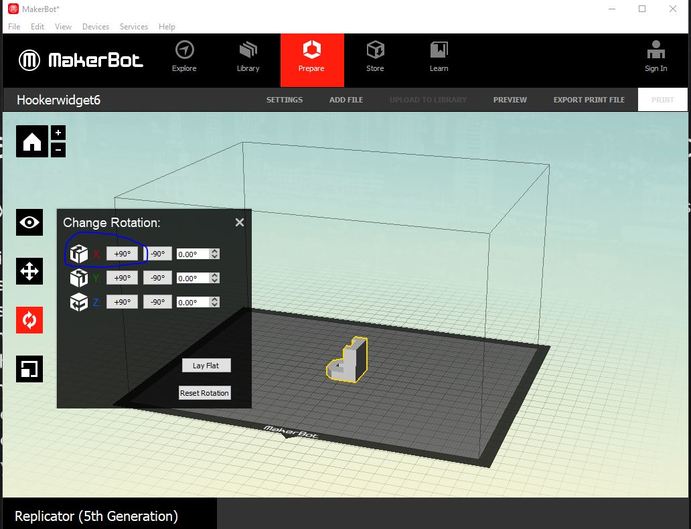
3. Rotate your shape to allow for the best possible print.
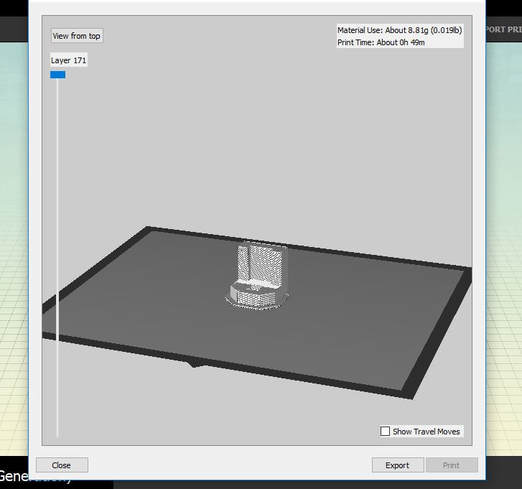
4.Click preview and then export. Then save on to a H-Drive and your ready to 3D print.
2. Change scale to 1000.0%
3. Rotate your shape to allow for the best possible print.
4.Click preview and then export. Then save on to a H-Drive and your ready to 3D print.
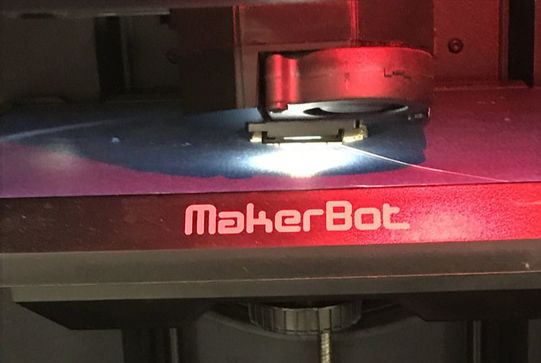
3-D Printing
What I learned
I have learned so much from this first Inventor/3D printing unit. I learned how to use inventor to create different sketches, and to be able to convert your inventor sketch to Maker Bot, the Inventor sketch needs to be a STL file. I also learned to use the Maker Bot software and to use the 3D printers. The 3D printers are easy to work, not too much different from printing a piece of paper out of a regular printer in a sense of following simple directions.
